Finished this version of the classic Neaeve over the weekend. Sounds quite amazing.....
My Class a vintage version - pics
Home of the Green Pre [ 1176neve.tripod.com ]
- Milkmansound
- george martin
- Posts: 1253
- Joined: Sun Feb 22, 2004 3:15 pm
- Location: San Francisco, CA
- Contact:
those look awesome - and I bet you could fit at least 2 more in that case!
the PSU looks like a modified green pre supply - am I right?
and those transformers - good lord, that thing better sound good with iron like that in it!
the PSU looks like a modified green pre supply - am I right?
and those transformers - good lord, that thing better sound good with iron like that in it!
(((((((((((((((((((((((((())))))))))))))))))))))))))))
www.pedalsteelamp.com
www.milkmansound.com
Follow me on Facebook!
www.pedalsteelamp.com
www.milkmansound.com
Follow me on Facebook!
- r0ck1r0ck2
- re-cappin' neve
- Posts: 704
- Joined: Thu Oct 09, 2003 1:55 pm
- Location: Milwaukee!!
- Contact:
PeterC, a VERY nice looking unit! How did you do the legending for the front panel?
MD, the "classic" Neves only require single-ended 24VDC. I also didn;t see a third, center-tap coming from that power transformer, making it almost certain it is a single-ended supply. I'm also *guessing* that the phantom is done via a voltage doubler or tripler.
Bri
MD, the "classic" Neves only require single-ended 24VDC. I also didn;t see a third, center-tap coming from that power transformer, making it almost certain it is a single-ended supply. I'm also *guessing* that the phantom is done via a voltage doubler or tripler.
Bri
Hey Brian,
I'll answer on behalf of Peter since he is the one who gave me the heads up
on how to do it for a panel I did for a Buss Compressor I was working on.
It is done with a transfer paper known as Fotocal paper here in South Africa,
but the commercial name for it in the US/UK is Lazertran.
Basically you print onto the paper either via a Laser printer/copier
(reversed) and then bake it onto the metal using a convection oven.
As you can see on Pete's you are left with a residue around the fused
lettering, but this can be removed with surgical spirits (not sure if it has
the same name in the USA. I think you might call it rubbing alcohol?), this
removes the residue but leave the ink behind because it fuses/bonds to the
metal under heat.
Here is close up of my compressor to illustrate this.
The cool thing is if you have access to a colour laser printer you can print
any colour under the sun onto the paper for transfer.
Back to the Neves....
You are right about the voltage doubler into a LM317 regulating the 48V rail
(I've built a few of Peter's PSU's so had LOTS of experience), but I'm
wondering where the regulator for the +24V rail is?
Pete, you never cease to amaze me and I think it looks killer! Well done my
friend!
Cheers
Matt
Phew, thanks for all the good words!
They do sound quite amazing
Lazertran is really nice, very strong & hard to split, unlike some of the other decal papers. Printing light colours onto a dark panel does not work that well, the colours are just not dense enough. Matt's trick with rubbing alchohol looks good, I couldnt try it with these units because of the powder coated panel, but when I get the unit back I'll try it on the inside of the panel.
Regards
Peter
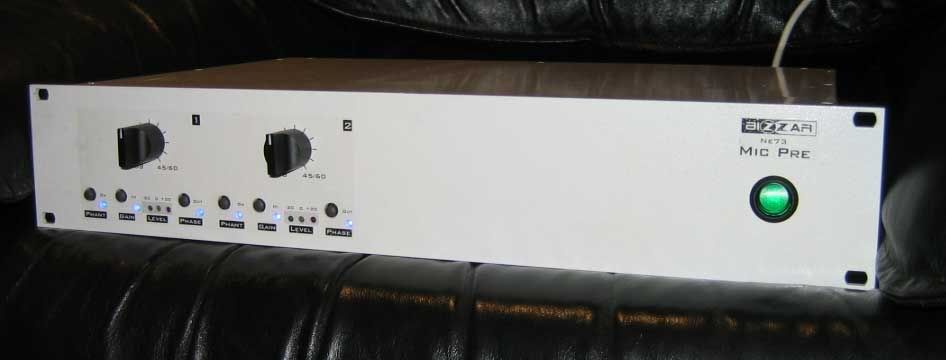
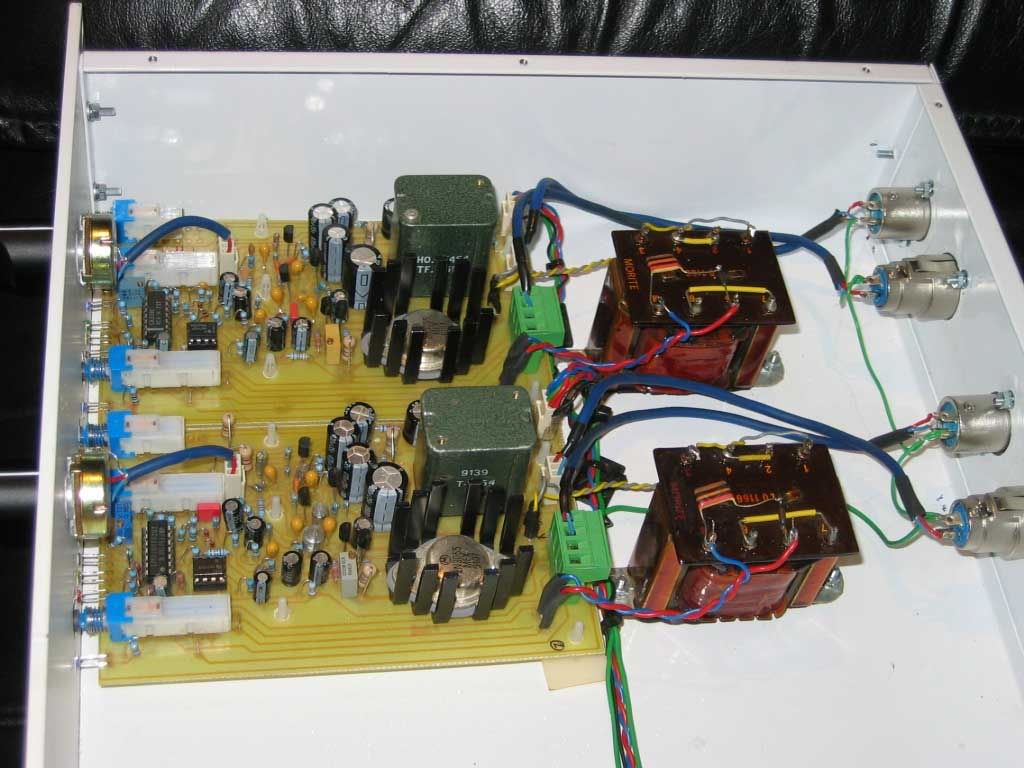
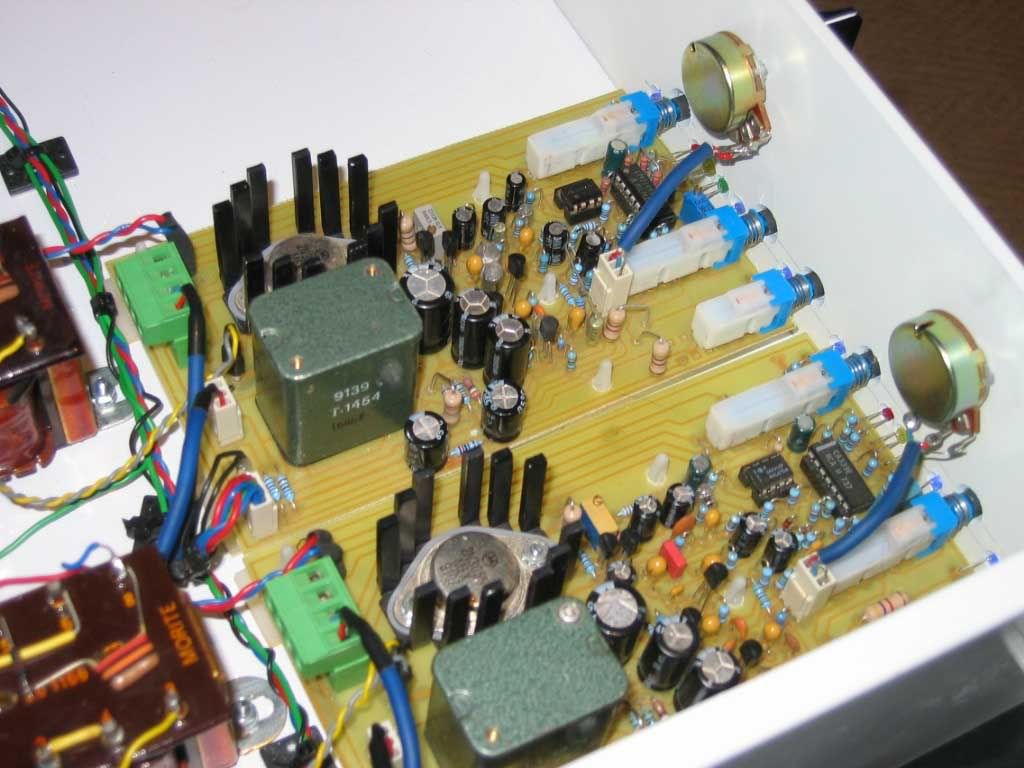
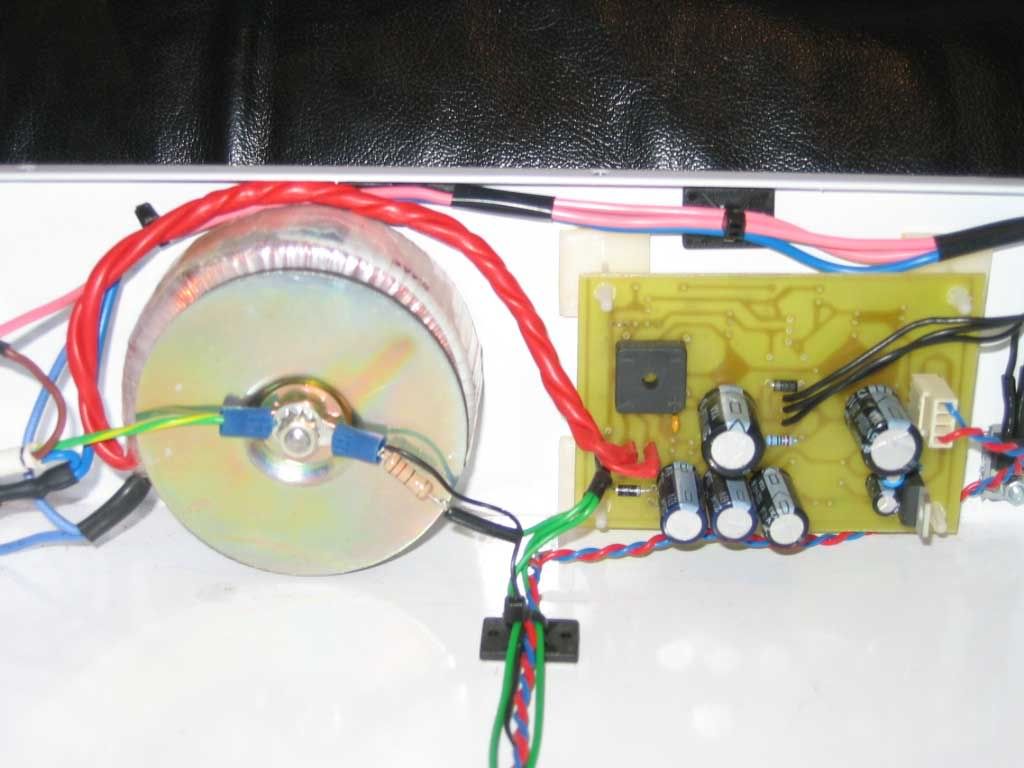
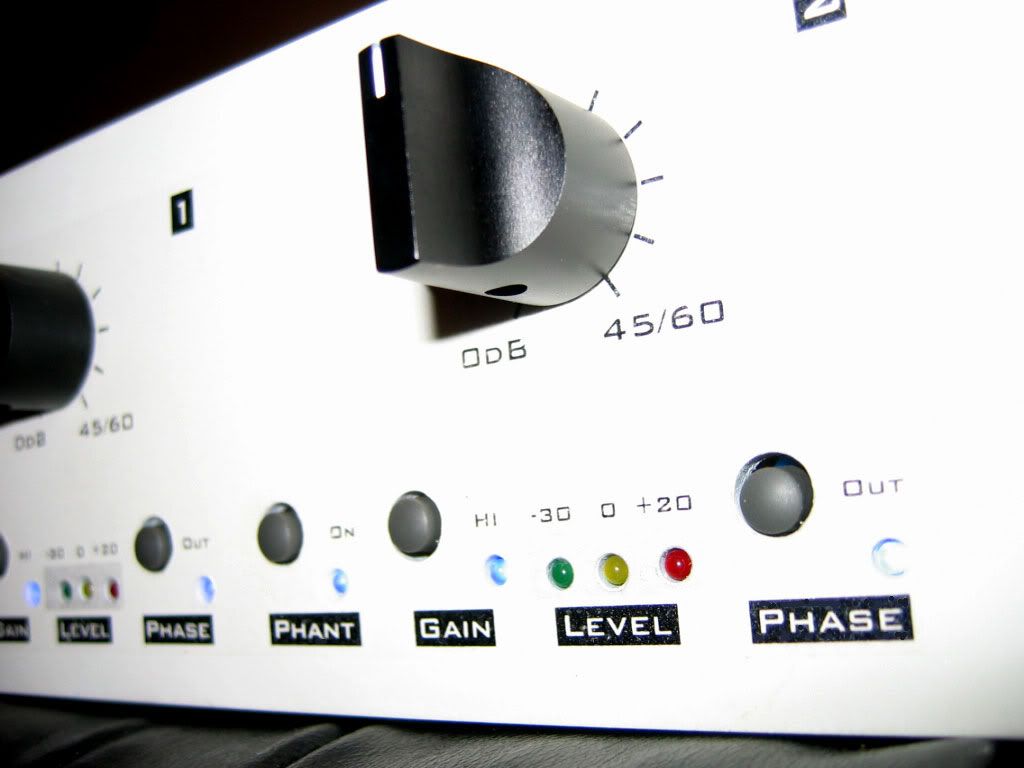
PCB is my own design, the transformers are original Marinairs I got from a friend, the supply is a Green supply modded for +24v & +48v (via voltage doubler).Looks lovely, how about some details?
Was this your PCb design and construciton? If not, where did you get it? (7th circle?) What transformers did you use? I only see one regulator on the power board: how do you get bi-polar supply and phantom?
And of course, how does it sound?
They do sound quite amazing
I do build them to order, the case is designed to take 4 channels. I might evolve the design to make a 4 chan PCB with attached PSU for a single PCB solution.those look awesome - and I bet you could fit at least 2 more in that case!
Lazertran is really nice, very strong & hard to split, unlike some of the other decal papers. Printing light colours onto a dark panel does not work that well, the colours are just not dense enough. Matt's trick with rubbing alchohol looks good, I couldnt try it with these units because of the powder coated panel, but when I get the unit back I'll try it on the inside of the panel.
Regards
Peter
Home of the Green Pre [ 1176neve.tripod.com ]
Who is online
Users browsing this forum: No registered users and 46 guests