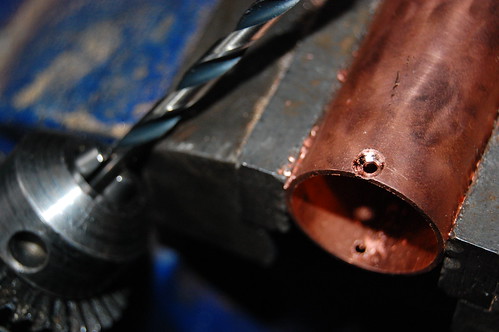
Luckily I was alone at this point, because what I said right then would have been offensive to gay people, women, and dogs - for starters - and I'm pretty sure I took the name of at least 2 major deities in vain. This is the part of the experiment where the chimp gets sick of trying to stick the square peg into the round hole, and starts flinging pooh instead.
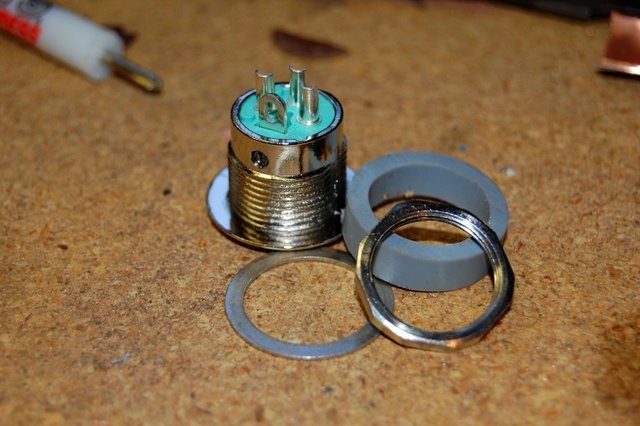
The perfectionist in me wanted to scrap this body and start a new one. The cold, cranky, monkey-ish side of me wanted to just drill a new hole, eat a banana, and call it a day.
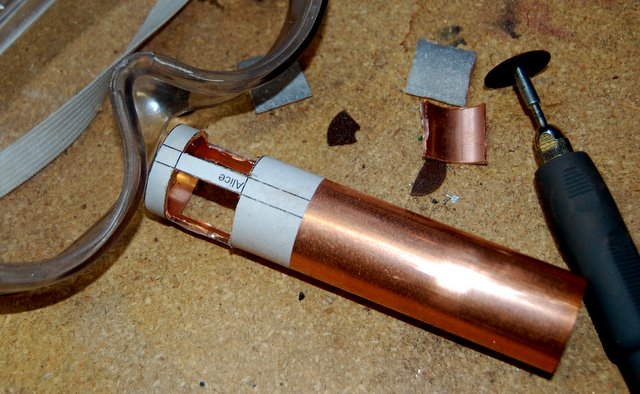
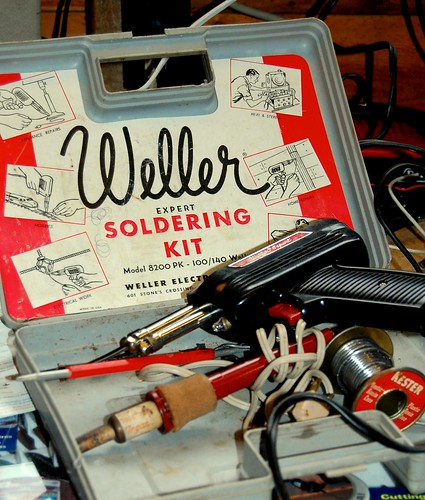
Then I remembered Dad's ol' soldering kit:
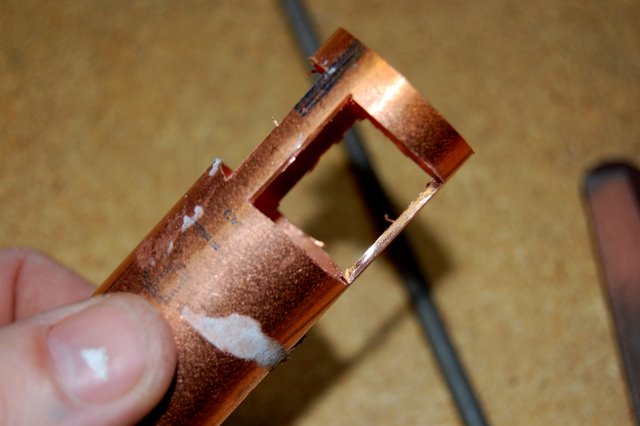
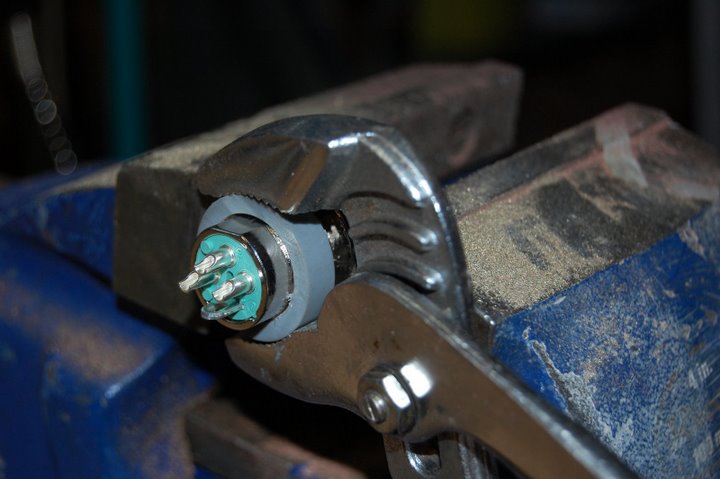
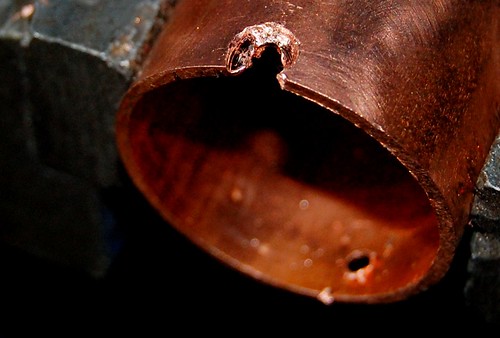
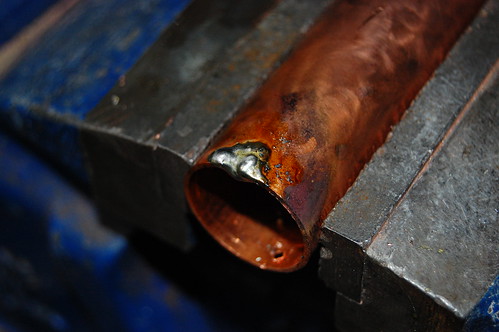
I figured I'd just fill the hole with solder, sand it down and start a new hole. Plumbers solder this stuff all the time, right? I felt like a very clever monkey indeed. Plus, the Weller packaging says "expert" right on it, so how could I go wrong?
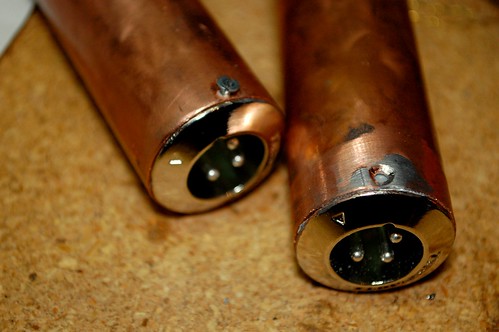
Well, it turns out that 5 inches of copper tube makes for a damned efficient heatsink. Even Dad's trusty Weller wasn't going to get this job done. I was almost back to flinging pooh when I found the answer, right there in front of me:
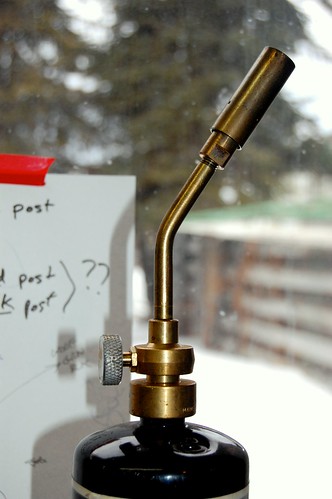
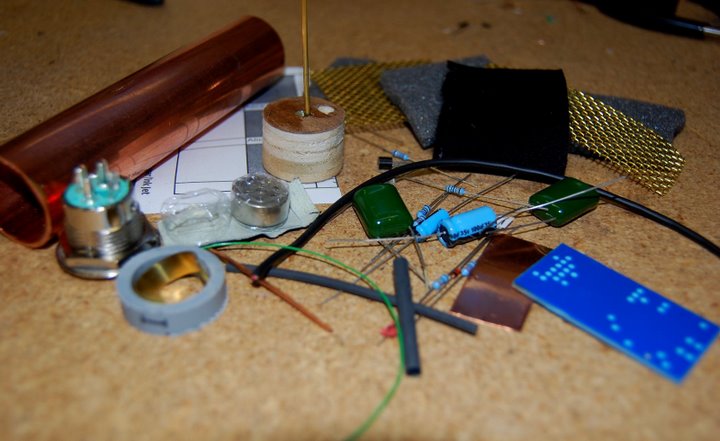
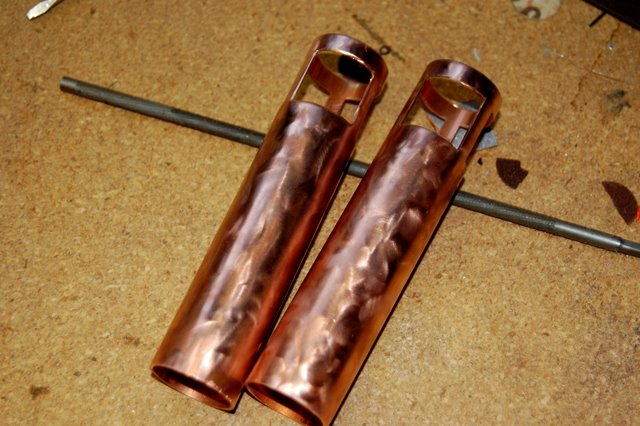
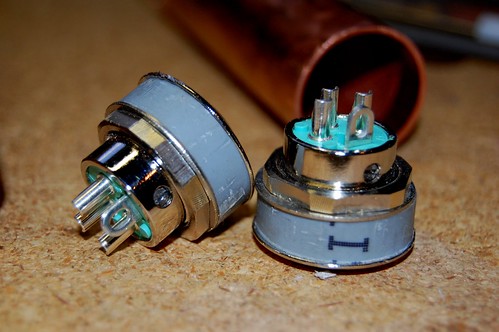
Fire! Great blasting jets of it! Suddenly this build had gotten much awesomer. Soon I had this:
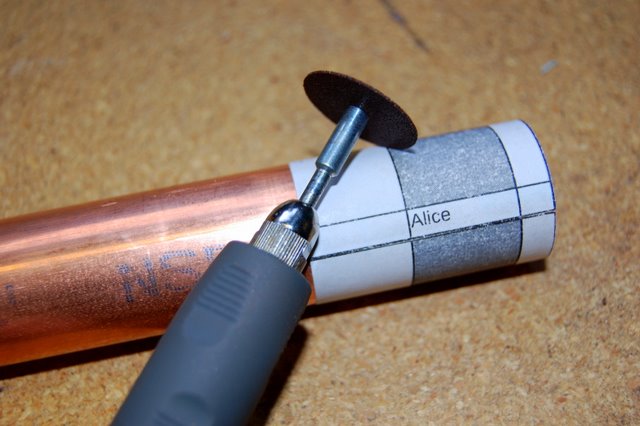
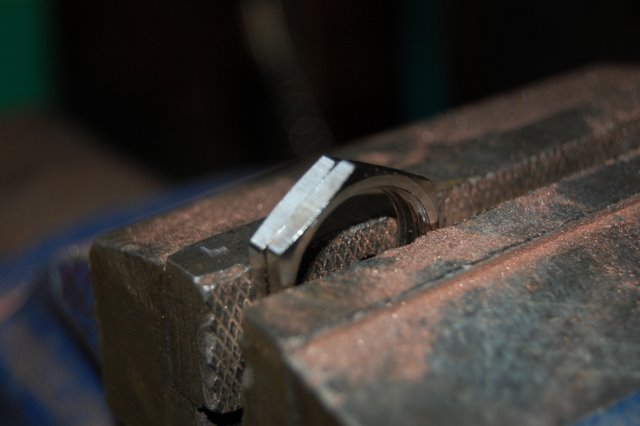
and eventually this, which I'm pretty darn happy with, all things considered: